Organize a Bathroom in a Weekend: A Step-by-Step Plan
A two-day plan for the whole bathroom: empty, declutter and measure on day one, test the layout overnight with boxes and cups you already own, then adjust, fit organizers and label on day two.
At a glance
What you need
- Tape measure
- Paper and pencil
- Phone camera
- Empty boxes for sorting and staging
- Cups, jars and small boxes as stand-in organizers
- Painter's tape for temporary labels
- Trash and recycling bags
Organizing a bathroom one drawer at a time can drag on for months. Doing the whole room in a single push has an advantage: every item is out at the same moment, so you can see the true size of each category and give it a sensible home.
Two days is enough for most bathrooms if you follow a sequence. This plan shows how to organize a bathroom in a weekend: empty, measure and plan on day one, then adjust, fit and label on day two, with a night in between to test the layout before you spend anything.
What you need
Nothing on this list is specialized, and most of it is already in the house.
- A tape measure, paper, a pencil and your phone camera
- A few empty boxes: one staging box for things leaving the room, plus spares for sorting
- Trash and recycling bags
- Stand-in containers: small cardboard boxes, drinking cups, jars and zip bags
- Cloths for wiping empty shelves and drawers
- Painter’s tape or sticky notes for temporary labels
Four habits that keep the weekend on track
- Do the vanity first. It is the most used part of the room, so finishing it gives you the biggest return early.
- Work top to bottom. Within each storage area, start with the highest shelf and move down.
- Keep a staging box by the door. Anything that belongs in another room goes in the box. Deliver it at the end of the day, not item by item.
- Stop at “good enough”. The first pass does not need to be perfect. A working layout you can refine beats a flawless one that never gets finished.
Day one, morning: empty, declutter and measure
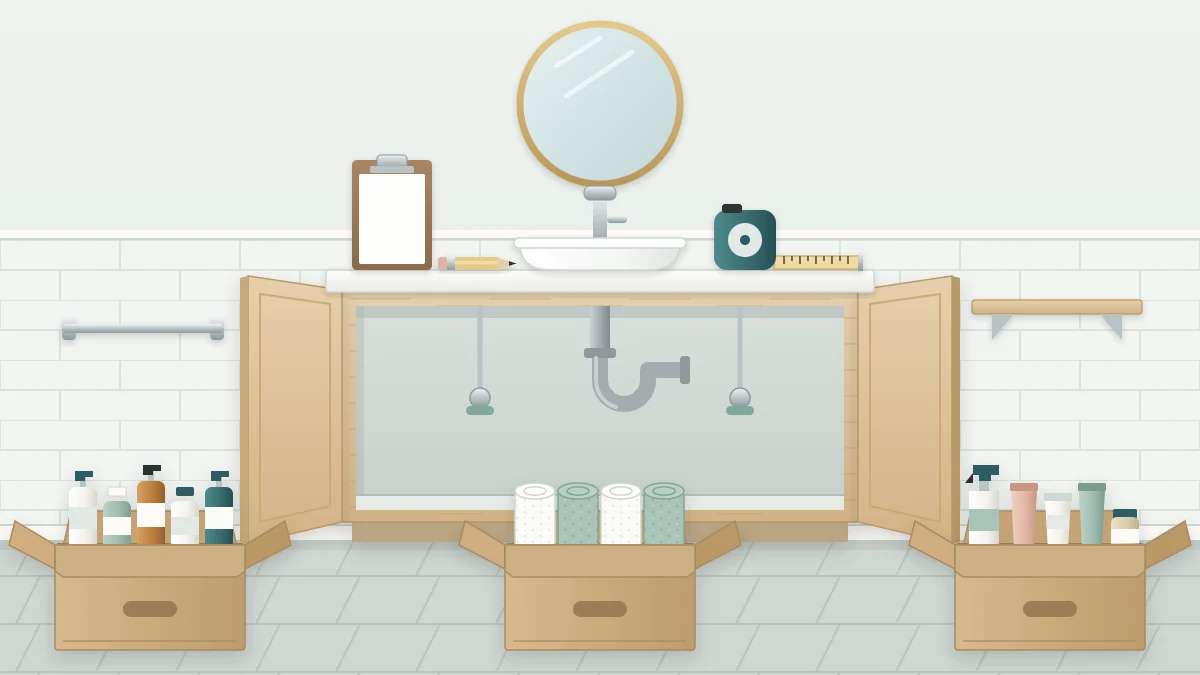
- Empty one storage area at a time. Start with the vanity drawers, then the vanity cabinet, the medicine cabinet, shelves, and finally the shower and tub edges. Put the contents on a towel on the floor or in a sorting box.
- Declutter as each area comes out. Sort into keep, relocate, and let go. Group the keepers by category: dental, hair, body, face, shaving, first-aid supplies, towels, paper goods. The guide on how to declutter a bathroom covers what to keep and what to do with the rest.
- Wipe each empty space and let it dry while you sort the next.
- Take pictures and measurements. Before anything goes back, snap a picture of every empty drawer, shelf and cabinet, and write down its inside width, depth and height. Note anything that gets in the way, such as pipes, hinges or a drawer that does not open fully.
Cleaning supplies stay in their original labeled containers throughout. Set them aside as their own category so they get a deliberate home in the afternoon.
Good to know
Under the sink, plan around the plumbing and keep the shut-off valves reachable. If you spot a leak or a damp patch while the cabinet is empty, that is a job for a plumber, not part of this project.
Day one, afternoon: map zones and test the layout
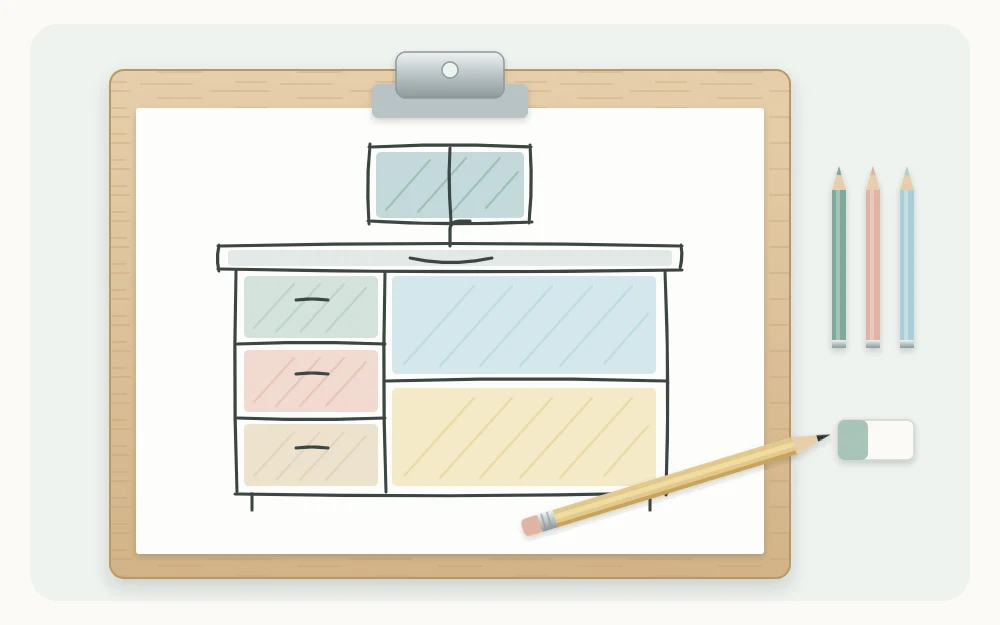
- Map the zones on paper. Sketch each storage area as a simple outline and mark what happens nearest to it: teeth at the sink, hair at the mirror, showering at the tub. The guide to daily-use zones explains how to match storage to tasks.
- Assign every category a home. Daily items go in the easiest spots between waist and eye level. Backups and rarely used items go higher, lower or farther back. Write each category on your sketch.
- Test with what you own. Do not buy organizers yet. Use small boxes, cups and bags as stand-in dividers and bins, and put everything back according to the sketch.
- Add temporary labels. A strip of painter’s tape on each container or shelf edge tells the rest of the household where things now live.

Overnight: live with it
Use the bathroom as normal on Saturday evening and Sunday morning. This is the test, and it costs nothing. Pay attention to small frictions:
- Did you reach for something in its old spot?
- Was anything you use daily behind something you do not?
- Did a stand-in container turn out too small, too deep or in the wrong place?
- Did anything end up back on the counter?
Jot each one on your sketch. Ask anyone who shares the bathroom to do the same.
Day two: adjust, fit and label
- Adjust what felt wrong. Swap homes, resize a category or move a zone. Changing a layout made of cardboard takes minutes.
- Write a short shopping list by size. For each spot that needs a real organizer, write the type and the dimensions it must fit, not just “drawer organizer”. The guide on how to measure drawers for organizers shows which measurements matter.
- Buy or repurpose. Check the rest of the house first: a spare kitchen tray, a jar or a shoebox lid may already be the right size. Buy only what is on the list. If a stand-in works well, it can stay.
- Fit the organizers. Place them, load them and check that drawers close and doors shut. Anything mounted on a wall or door goes up as its own instructions direct.
- Label. Replace the tape with lasting labels on bins, shelf edges and the inside of cabinet doors, wherever a category is not obvious at a glance.
- Set the reset routine. Decide when the room gets returned to this state: a minute each evening and a slightly longer pass once a week suits many households. The guide on how to keep a bathroom organized lays out a simple schedule.
Finish by emptying the staging box around the house and taking out the trash and donations, so nothing drifts back in.
If you only have two hours
A full weekend is not always possible. A shorter version still makes a visible difference if you limit it to three places:
- One drawer: the top vanity drawer. Empty it, keep only what you use daily and divide it with small boxes.
- One shelf: the one at eye level in the medicine cabinet or vanity. Clear it and give it to everyday items.
- The counter: remove everything, wipe it and return only what is used every day, grouped on a tray.
Leave the rest for another session.
After the weekend
Keep the sketch and the measurements; they are useful the next time you need a container. If one spot keeps collecting clutter, a category needs a closer or larger home.
Frequently asked questions
Can a bathroom really be organized in one weekend?
Most bathrooms can, provided you follow a sequence and accept a good-enough first pass. Day one is for emptying, decluttering, measuring and testing a layout with containers you already own. Day two is for adjusting, fitting organizers and labeling. Very large or very full bathrooms may need an extra session.
Should I buy organizers before I start?
No. Buy after you have decluttered, measured and tested the layout overnight with stand-in boxes and cups. By then you know which categories you are keeping, where each one lives and the exact sizes needed, so the shopping list is short and nothing has to go back.
Which part of the bathroom should I organize first?
Start with the vanity, because it is used more than any other storage in the room, and work from the top of each area down. If time is short, limit the project to the top vanity drawer, one eye-level shelf and the counter.