How to Declutter a Bathroom Before You Organize It
Seven ordered steps for clearing out a bathroom one storage area at a time, with the sorting categories and decision questions that make it quicker to choose what stays.
At a glance
What you need
- Trash bag
- Recycling bag
- Box for items that belong elsewhere
- Large towel
- Cloth for wiping shelves and drawers
- Paper and pencil
Organizing works on what is left after the clutter has gone, so knowing how to declutter a bathroom is the real first step. Dividers and bins cannot fix a drawer that holds twice what it should.
The method below takes one storage area at a time and runs in a fixed order. You can stop after any area and still have a finished result, which makes it easy to spread across a few short sessions.
Step 1: Set up three containers
Before opening a single drawer, bring three things into the room: a trash bag, a recycling bag and a box for anything that belongs elsewhere in the house. Having them within reach means every item can leave your hand in one move, without a pile of undecided things forming on the counter.
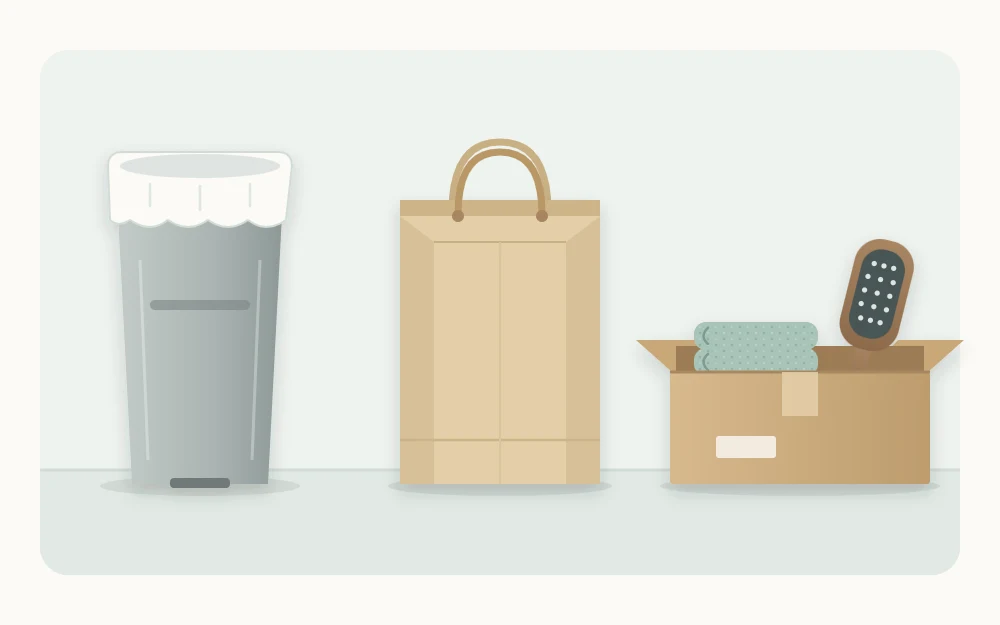
Check your local recycling rules for which bathroom packaging is accepted. When in doubt about a container, follow the disposal directions printed on it.
Step 2: Empty one storage area at a time
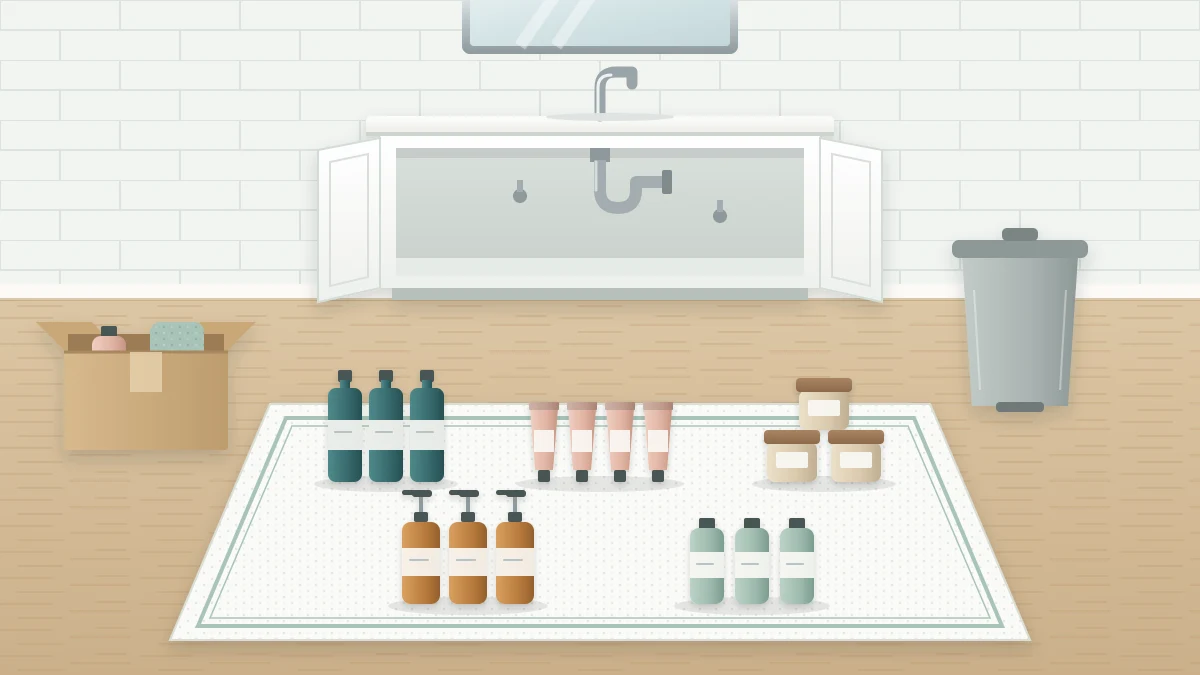
Choose one drawer, one shelf or one cabinet and empty it completely onto a towel spread on the floor or counter. The towel stops bottles from rolling and marks out a clear work area.
Resist the urge to empty the whole bathroom at once. A single area can be finished in one sitting. A whole room spread across the floor is hard to walk away from when you run out of time.
Step 3: Sort into categories
Group everything on the towel by what it is for. These categories suit most bathrooms:
- Hair
- Skin
- Dental
- Shaving
- Makeup
- First-aid supplies
- Cleaning supplies
- Towels
- Paper goods
Sorting first, before deciding anything, shows you the true size of each group. Four nearly identical bottles are easy to overlook when they live in four different places and hard to ignore when they stand side by side.
Step 4: Decide on each item
Go through one category at a time and give each item one of three outcomes: used regularly, backup (an unopened spare of something you use) or go. When an item is hard to place, these questions help:
- When was it last used?
- Is there a duplicate already open?
- Would you buy it again today?
An honest “no” to the last question usually settles it. Things that are still good but unwanted go into the “belongs elsewhere” box to be passed on if someone will take them.
Tip
Limit samples and travel sizes to what fits in one small container. When it is full, something has to be used up or go before anything new is added.
Step 5: Check dates and condition
For the items you plan to keep, look at the product itself. Follow any date or symbol printed on the package, and let go of anything past it.
Cosmetics need a closer look, because manufacturers are not generally required to print expiration dates on them. Follow any date or symbol the package does carry, and discard a product whose smell, color or texture has changed. For more detail, see the FDA’s page on shelf life and expiration dating of cosmetics.
Two groups call for extra care when they leave the house:
- Medicines. Do not guess at disposal. Follow the label or patient leaflet and the FDA guidance on disposing of unused medicines, or ask a pharmacist. Until then, leave each one in its original labeled packaging.
- Cleaning products and aerosols. Whether a container is empty or partly used, follow its label and your local household hazardous waste guidance. Cleaning supplies you are keeping stay in their original labeled containers.
Step 6: Wipe the empty space and let it dry
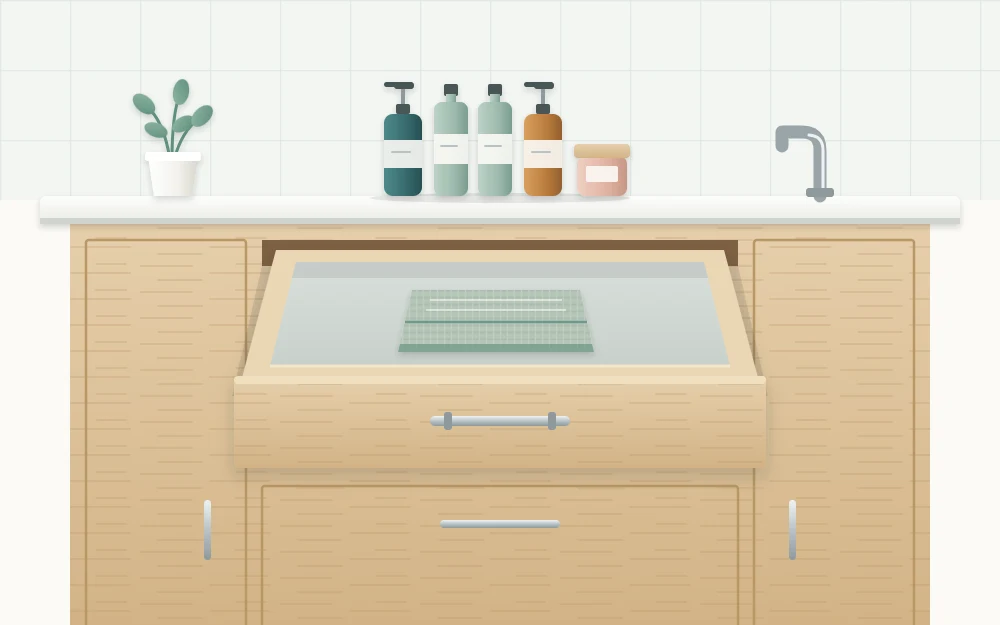
An empty drawer or shelf is a rare chance to wipe it out properly, including the corners. Let the surface dry fully before anything goes back in. This is also the moment to note the inside measurements of the space, which you will need later if you add organizers.
Step 7: Put back only the keepers, grouped
Return the items you use regularly first, with each category kept together. Backups go behind or below the open item, or into a separate spot for spare stock, so that the open one is always the easiest to reach.
Do not worry about perfect placement yet. Where each group should live for good depends on how often you use it, which is covered in the guide to setting up bathroom zones by daily use. For now, grouped and reduced is enough.
Then empty the three containers: trash out, recycling out, and the “belongs elsewhere” box carried around the house until it is empty.
What to do after the clear-out
Repeat the same seven steps for the next storage area on another day. A common order is drawers first, then the vanity cabinet, then shelves and the shower.
Once every area is done, the detailed guides take over. Everyday bottles, tubes and jars are covered in the guide to toiletry organization, and the mirrored wall cabinet has its own guide to organizing a medicine cabinet.
Expect the bathroom to hold noticeably less than it did, and expect some storage to sit partly empty. That spare room is not wasted. It is what makes it possible to put things away quickly and to see what you have at a glance.
Frequently asked questions
What should I get rid of first when decluttering a bathroom?
Start with the easy decisions: empty containers, packaging, things that belong in another room and items nobody in the household uses. Clearing these first shrinks the pile quickly and makes the remaining choices, such as duplicates and rarely used products, easier to see and to judge.
How do I know whether a cosmetic product is too old to keep?
Look at the package first and follow any date or symbol printed on it. Cosmetics do not always carry an expiration date, so also check the product itself. If the smell, color or texture has changed, discard it. The FDA has a page on cosmetics shelf life with more detail.
How should I dispose of old medicines found during a bathroom clear-out?
Do not guess. Follow the disposal directions on the label or patient leaflet and the FDA guidance on disposing of unused medicines, or ask a pharmacist what to do. Until you can dispose of them properly, leave each one in its original labeled packaging.