Under-Sink Organization: Working Around the Pipes
A step-by-step way to organize the cabinet under the bathroom sink: check it for water, protect the floor, measure the spaces beside the pipes and choose organizers that fit around them.
At a glance
What you need
- Tape measure
- Paper and pencil
- Cloth for wiping
- Waterproof mat or tray
- Narrow tiered units or stacking drawers
- Handled caddy
- Closed bins
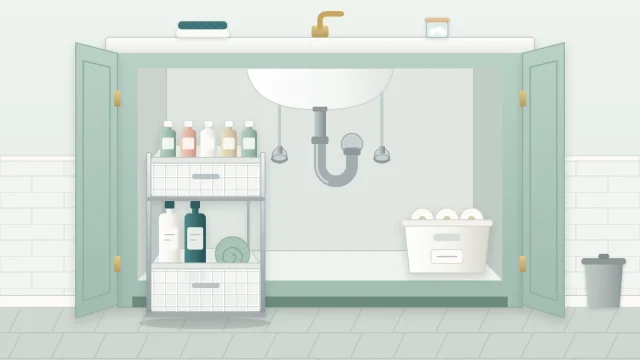
The cabinet under the bathroom sink is a large space with an obstacle in the middle of it. A drain trap curves down through the center, supply lines and shut-off valves sit at the back, and whatever you put in tends to end up in a heap around them. Under-sink organization works when you stop treating the cabinet as one big box and plan it as two side spaces and a low middle.
The steps below go in order, and the first few involve no organizers at all. Checking the cabinet and measuring it come before buying anything.
Step 1: Empty and check the cabinet
- Take everything out. All of it, including the things at the back you had forgotten about. Group items on the floor or counter as you go.
- Look for signs of water. Check the cabinet floor, the back wall and the area below the pipes for dampness, stains, swelling or warped panels. If you find any, sort out the cause before storing anything. A leak is a job for a plumber.
- Wipe and dry. Wipe the empty cabinet and leave the doors open until it is completely dry.
This is also the moment to find the shut-off valves, usually two small handles on the supply lines at the back. Whatever you put in the cabinet later, those valves need to stay reachable without unloading it.
Step 2: Protect the cabinet floor
Drips and condensation are common in this cabinet even when nothing is wrong, so give the floor a wipeable surface. A waterproof mat or shallow tray cut or sized to the cabinet floor does the job, and one with a raised lip also contains a small spill from a bottle.
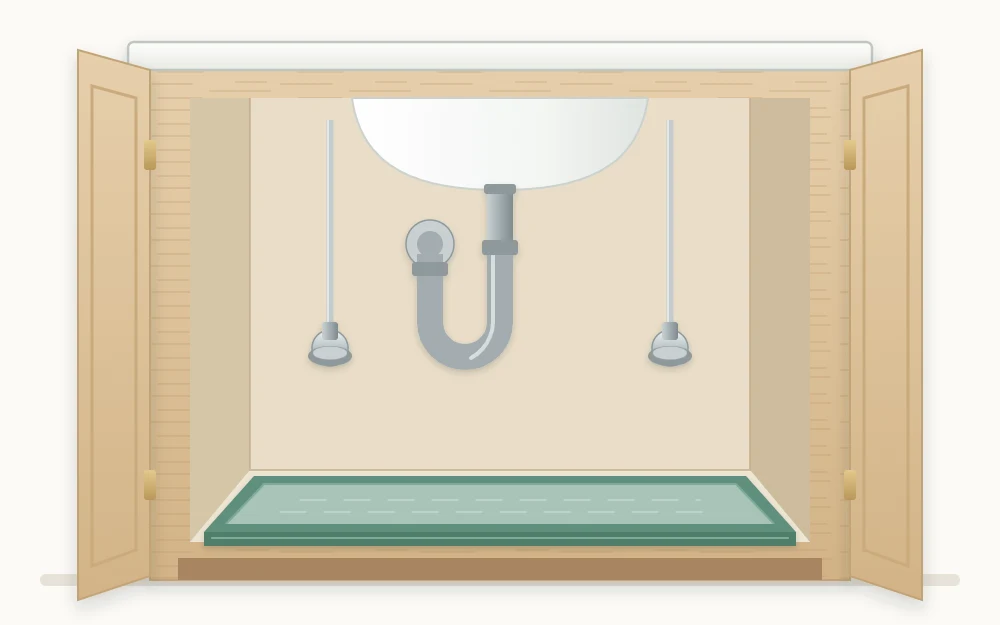
A mat does not fix a leak. Its use is that it makes one visible sooner and keeps a little water off the cabinet panel in the meantime.
Step 3: Measure the clear spaces
The overall width of the cabinet is not the number that matters. What matters is the space the pipes leave free. Measure, and write down:
- The clear width to the left of the drain trap and to the right of it, at the narrowest point
- The height under the lowest part of the trap
- The full height at each side, up to the underside of the sink or countertop
- The depth from the inside of the closed door to the back wall or the valves, whichever comes first
- The door opening, between hinges and inside any frame lip
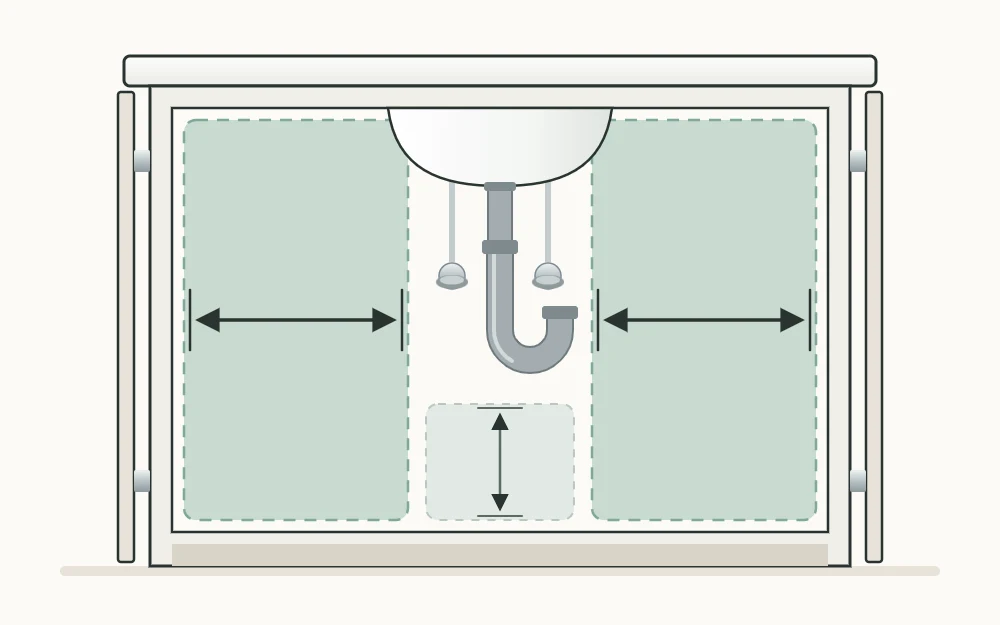
Many cabinets turn out to have two usable side bays of different widths and a middle strip only a few inches high. That is normal, and it decides which organizers will fit.
Step 4: Sort what will live here
Before anything goes back, decide what belongs in this cabinet at all. It is deep, low and a bit awkward to reach, which makes it secondary space: good for things you fetch occasionally, poor for things you use twice a day.
What usually suits it:
- Backups of soap, toothpaste, shampoo and similar items
- Spare toilet paper
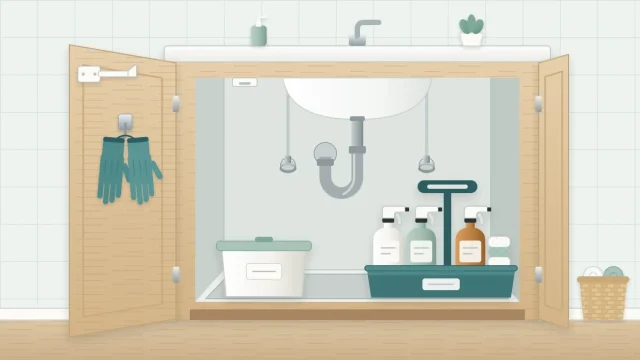
- Cleaning supplies, kept in their original labeled containers and gathered in a handled caddy
- Small categories in closed bins, such as travel items or spare sponges
The separate guide to storing cleaning supplies under the bathroom sink covers that category properly, including what changes in a home with children. Daily items belong in drawers or the mirror cabinet instead; if your vanity has shelves or a second cabinet, the guide to vanity cabinet organization explains how to divide things between them.
Step 5: Choose organizers that fit around the pipes
With measurements and a sorted pile, you can pick containers that work with the plumbing, not against it. Four types solve most cabinets:
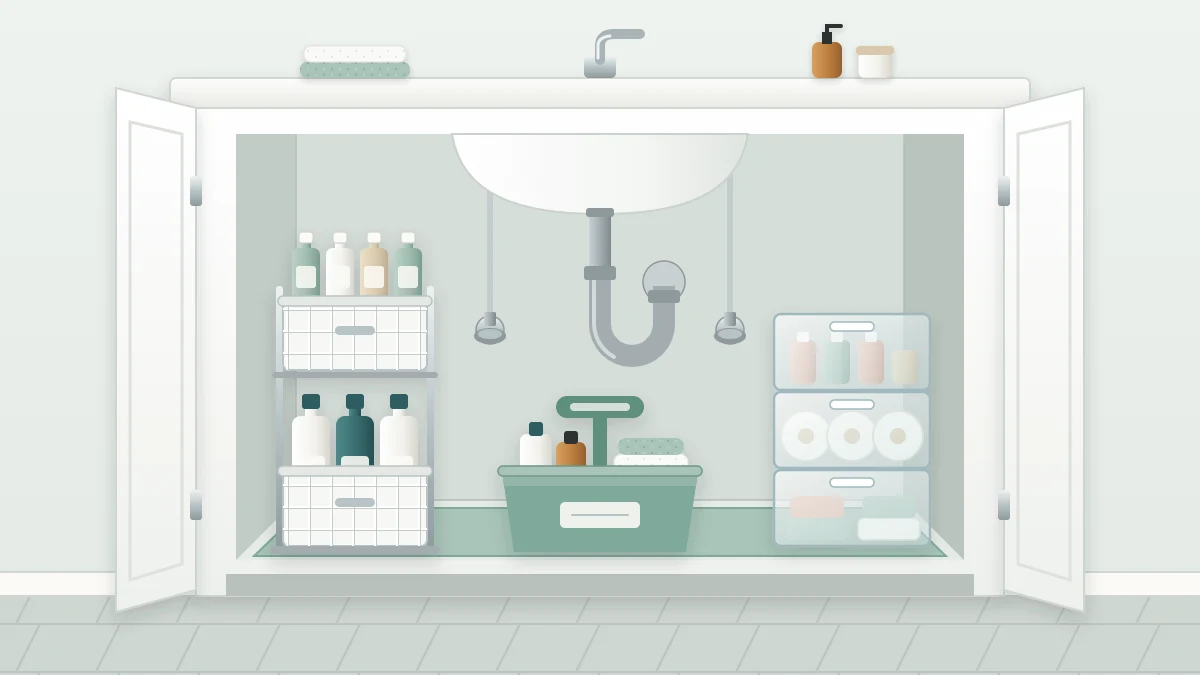
- Two narrow tiered units, one on each side of the trap. Each uses the full height of its bay and leaves the center open.
- An adjustable shelf with removable slats. It spans the cabinet, and you leave out the slats where the pipe comes through.
- Stacking drawers. Clear ones show their contents and keep small categories apart.
- A turntable for bottles, so those at the back come to the front with a turn.
Sliding versions of these are compared in the guide to under-sink pull-out organizers. Whichever you choose, favor wipeable plastic or coated metal over cardboard and unsealed materials in this spot.
Step 6: Load the cabinet
- Place tall items and tall organizers in the side bays, where there is height.
- Use the low space under the trap for short things: a flat bin, a low tray or a small stack of sponges.
- Put what you fetch most often at the front and backups behind.
- Keep paper goods, and anything whose label says to keep it dry, up off the cabinet floor on a shelf, in a tier or in a closed bin.
- Close the doors and check that nothing presses against a hinge or pipe.
Good to know
Organize around the plumbing as it is. Do not move, cut or modify any pipe, trap, supply line or valve, and do not hang or rest anything on them. Leave a clear path to the shut-off valves and the trap so they can be reached quickly.
Keeping it working
An under-sink cabinet drifts back toward a heap for one reason: things get pushed in at the front. A layout that has a defined place for each category resists that, especially when the containers lift or slide out so nothing has to be reached over.
A quick look every month or two is enough. Lift out the front items, glance at the mat for water, return strays to their bins and check that the row of backups has not outgrown its space. If the mat is wet and no bottle has leaked, call a plumber before putting things back.
Tip
Keep the measurements you wrote down inside the cabinet door or with your household notes. They save a second round of measuring the next time you replace an organizer.
Frequently asked questions
What should I do if I find water under the bathroom sink?
Stop and deal with it before organizing. Take everything out, dry the cabinet and look for where the water is coming from. If it is not simply a bottle that leaked, call a plumber. Do not store anything in the cabinet until the cause is fixed and the cabinet is dry.
How do I use the space around the pipes under the sink?
Organize around the plumbing and leave it alone. Do not hang or rest anything on pipes, traps, supply lines or valves. Use the two spaces either side of the drain and the low space beneath it, and keep the shut-off valves clear so they can be reached quickly.
What should not be stored under the bathroom sink?
Things you use every day, because the cabinet is low and awkward to reach, and anything whose label says to store it somewhere dry, unless it sits off the floor in a closed bin. Cardboard boxes and loose paper goods on the cabinet floor are also poor choices in a spot where drips happen.